Industry Insights
How to Install Self-Adhesive Smart Film: A Step-by-Step Guide
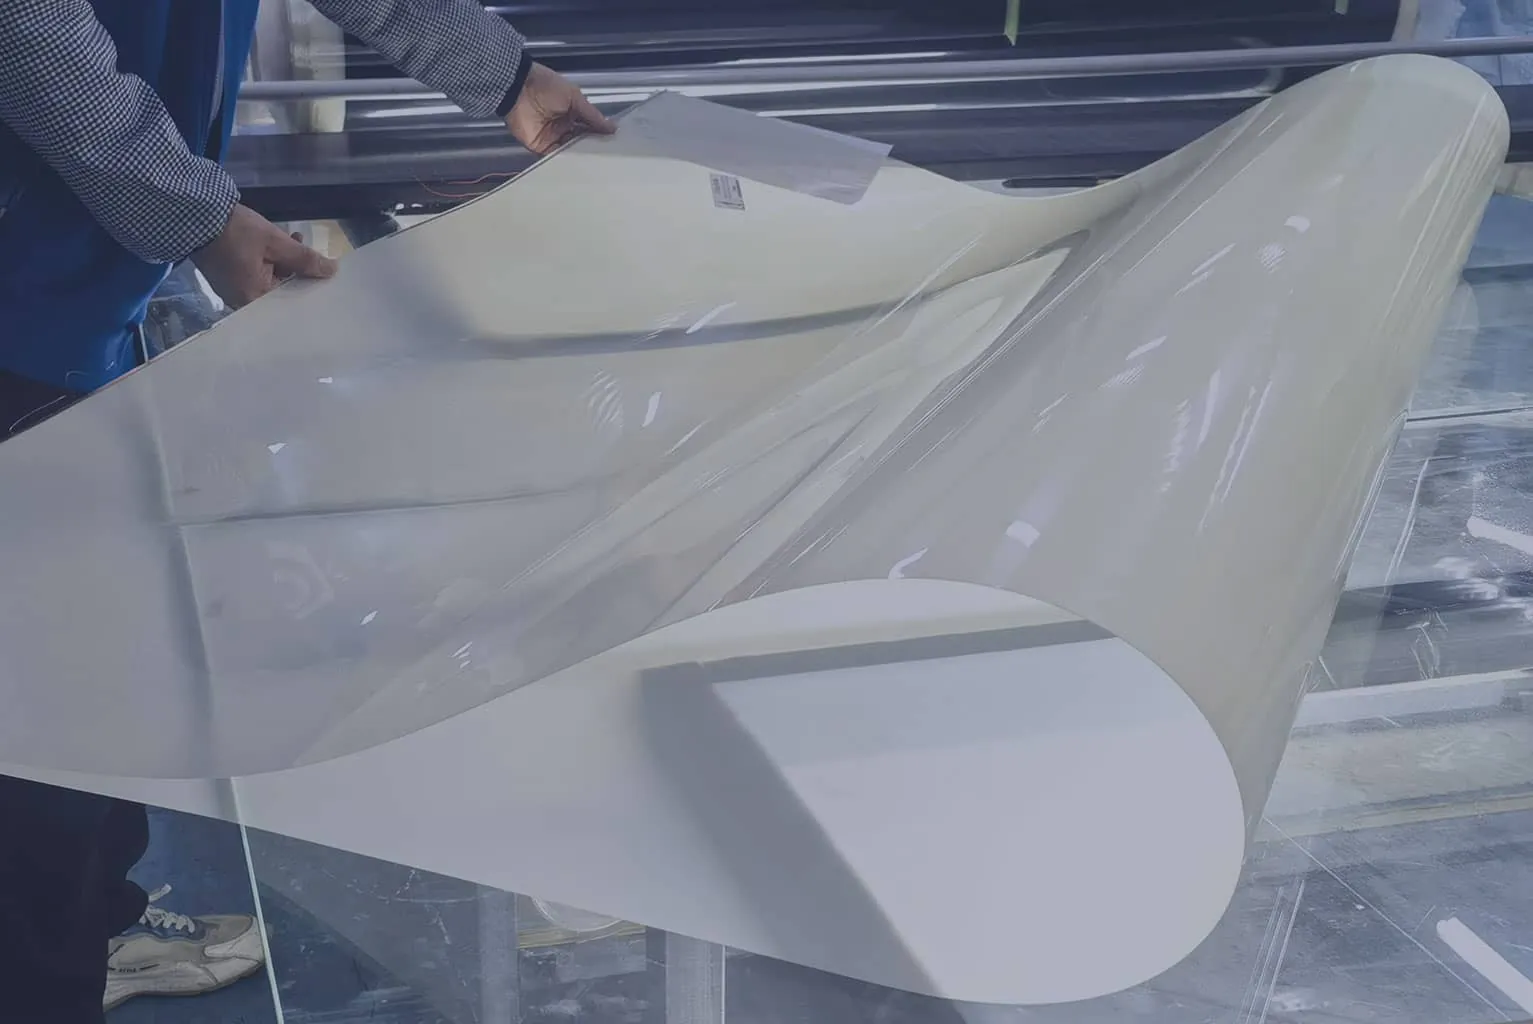
Self-adhesive smart film is the fastest way to turn ordinary glass into switchable privacy glass — and because it sticks directly onto existing glazing, installation does not require replacing windows or partitions. With the right tools and a clean workspace, a trained installer can complete a typical office partition in under an hour. This step-by-step guide walks you through the full process, from preparation to the final power test, so you can plan your project with confidence.
Tools and Materials You Will Need
Before you start, gather everything on this list. Running out of supplies mid-installation is the most common cause of bubbles and misalignment.
- Self-adhesive PDLC smart film (cut to size, or slightly oversize for trimming)
- Installation squeegee with a soft felt edge (to avoid scratching the film)
- Glass cleaner + lint-free microfiber cloths (no paper towels — they leave lint)
- Utility knife with fresh blades and a steel ruler for trimming
- Heat gun or hair dryer (for edge sealing and cold-weather installs)
- PDLC transformer (48–65V AC, nominal 60V — match the film voltage), wall switch or remote
- Two-core electrical wire, wire strippers, and insulating tape
- Neutral-cure silicone sealant (pH 7, zero shrinkage, solvent-free) for edge sealing
Step 1 — Measure and Cut the Film
Measure the glass pane precisely and add 2–3 mm of extra margin on each edge — you will trim the excess after application. Unroll the film on a clean, flat surface and cut with a sharp utility knife against a steel ruler. A dull blade will pull the adhesive layer and leave ragged edges.
Mark the top edge of the film with a small piece of tape so you do not flip it upside down — the adhesive side and the conductive bus-bar side must be oriented correctly.
Step 2 — Clean the Glass Thoroughly (Dry Application)
This is the most important step. PDLC self-adhesive film is a dry-stick product — never use water or soapy solution during application. Any dust, grease or silicone residue trapped under the film will show as a permanent bubble or speck. Spray the glass with cleaner, wipe with a squeegee from top to bottom, and then do a final pass with a lint-free microfiber cloth. The surface must be completely dry before application. Run your bare hand over the surface — if you feel any grit, clean again.
For exterior-facing glass or bathrooms, make sure the room is dry and well-ventilated. Humidity above 70% makes the adhesive less tacky and increases the risk of edge lifting.
Step 3 — Peel the Release Liner and Apply (Dry)
Peel back about 10 cm of the release liner from the top edge. Do not peel the whole backing at once — the film will stick to itself instantly. Align the top and one side edge, then press the top 10 cm firmly with the squeegee. Once the top is anchored, slowly peel the rest of the liner downward with one hand while smoothing the film with the squeegee in the other. Work from the center outward, in overlapping strokes. This is a dry application — do not spray any liquid on the adhesive or glass.
Step 4 — Squeegee Out All Air
Go over the entire surface with firm, overlapping squeegee strokes, pushing trapped air toward the nearest edge. Wipe the squeegee blade frequently on the microfiber cloth. Pay extra attention to the edges — ensure full adhesion around the bus bar area to prevent moisture intrusion later.
Small bubbles that remain after 10 minutes can usually be worked out with the squeegee. Larger bubbles may require you to lift that corner and reapply. Do not puncture bubbles with a pin — it will damage the ITO conductive layer and leave a visible mark.
Step 5 — Trim the Edges and Connect Power
Once the film is fully smoothed, trim the excess along all four edges with a fresh utility blade. Hold the blade at a 45-degree angle and use the glass frame as a guide for a clean line. Important: only trim areas without the copper bus bar electrode — never cut through the bus bar edge.
The two conductive bus bars run along the top and bottom (or left and right, depending on the film orientation). Connect the two-core wire to each bus bar using the copper tape or conductive adhesive supplied with the film. Run the wire along the frame to the transformer, then connect the transformer to the wall switch or remote receiver. Always turn off the mains power before wiring the transformer. The film operates on 48–65V AC (nominal 60V).
Step 6 — Test, Seal and Finish
Restore power and test the switch. The film should change from frosted to transparent in under a second, with no dead zones or flickering. If a corner does not switch, check the bus-bar connection — a loose wire is the usual cause.
Finally, apply neutral-cure silicone sealant (pH 7, zero shrinkage, solvent-free) along all four edges and especially around the bus bar electrodes. This seals out moisture and dust, prevents electrode oxidation, and ensures long-term reliable operation. Run the heat gun along all edges on a low setting for 10–15 seconds to activate the edge seal. Wipe the surface with a dry microfiber cloth and the installation is complete.
Common Mistakes to Avoid
- Using water or soapy solution — PDLC film is a dry-stick product; moisture causes edge lifting and electrical failure.
- Skipping the final glass clean — dust under the film is permanent and impossible to fix without replacing the film.
- Peeling the entire release liner at once — the film will curl and stick to itself.
- Using a hard squeegee without a felt edge — it scratches the protective top layer.
- Trimming with a dull blade — ragged edges look unprofessional and can lift over time.
- Cutting through the bus bar electrode — only trim areas without the copper electrode.
- Forgetting edge sealing with neutral silicone — the #1 cause of edge lifting in bathrooms and exterior glass.
- Wiring the transformer to the wrong voltage — always match 48–65V AC (nominal 60V) to the film specification.
- Removing the high-temperature protective tape on the bus bar — this tape protects the electrode from oxidation and must never be removed.
- Allowing the film edge to touch metal frames — maintain ≥2mm insulation gap to prevent short circuits.
When to Hire a Professional
For small interior panes under 1 m², a confident DIYer with the right tools can achieve a good result. For anything larger — full-height partitions, curved glass, bathroom wet areas, or projects above 10 m² — we strongly recommend a professional installer. The cost of redoing a botched install (new film + labor + glass cleaning) far exceeds the savings of doing it yourself.
AYSENT SMART FILM supplies detailed video tutorials, wiring diagrams and a professional tool kit with every film order, and our engineers offer remote video support for larger projects. Contact us for a recommended installer in your region.
Conclusion
Self-adhesive smart film installation is straightforward when you follow the steps in order: measure, clean, apply, smooth, wire, test. The two make-or-break steps are glass cleanliness and edge sealing — get those right and your film will give you years of reliable instant privacy. Ready to start your project? Request a free sample and installation kit from AYSENT SMART FILM, and our team will help you specify the right film size, voltage and control system for your glass.
Frequently Asked Questions
Source Smart Film Directly from the Factory
AYSENT SMART FILM manufactures PDLC smart film, self-adhesive switchable privacy film and laminated smart glass in-house — with low MOQ, free samples, OEM/ODM customization and worldwide shipping.